Where Feet Go First: Designing a Winter Route That Saves Your Lawn
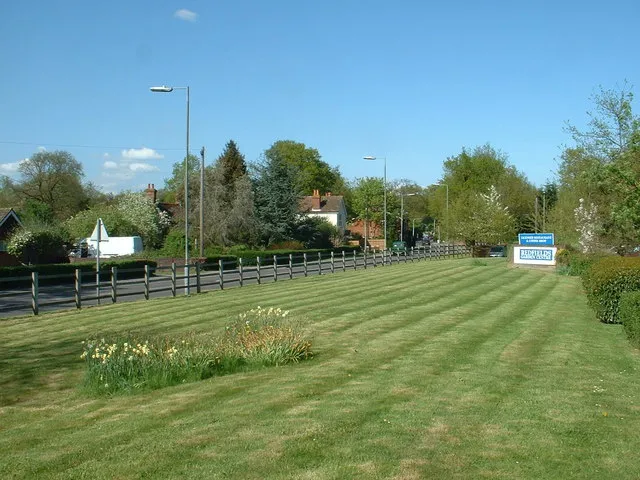
Photo: David Medcalf, CC BY-SA 2.0, via Wikimedia Commons
Every UK garden has a secret map. It is not the one you drew when you planned the borders. It is the line your feet have worn from the back door to the bin store, from the patio to the shed, or from the side gate to the kitchen. In summer that line is invisible. In winter it turns into a strip of mud, flattened grass and regret. The good news is that you do not need to pave the whole lawn to fix it. You need to notice the route, decide how permanent it should be, and give it a surface that can take a British winter.
Start by Watching Where You Actually Walk
Before you buy a single bag of gravel, spend a week noticing your own habits. Where do you step when you are carrying a recycling box? Which corner gets cut when it is dark and you cannot be bothered to find the torch? Is there a place where the dog always turns? These repeated journeys create desire lines: informal paths that reveal how a garden is really used, rather than how it was designed.
Look for flattened grass, mossy patches, small dips in the turf, or soil that stays soft after the rest of the lawn has drained. Check after bin day, after rain, and on a Sunday morning when everyone is moving at once. If several people take the same shortcut, the damage will compound quickly. The trick is to work with that line rather than fight it with a sign and a hope.
Why Winter Traffic Does More Harm Than Rain
A lawn can cope with a lot of water. What it struggles with is pressure on wet soil. When the ground is saturated, every footstep squeezes air out of the top layer and pushes soil particles together. Do that daily and you get compaction, a shallow pan of hard ground, and grass that thins out. In heavy clay soils, common across much of the UK, the effect is even more pronounced.
This is why a single muddy patch can appear in a lawn that otherwise looks fine. It is not necessarily a drainage disaster. It is often just the busiest metre of the garden. Once you understand that, the solution becomes less about heroic drainage works and more about redirecting the traffic.
Four Ways to Build the Route
There is no single right surface. The best choice depends on how often the route is used, how visible it is from the house, and how much you want to spend. For a low-key fix, stepping stones set into the grass are hard to beat. Choose flat, stable stones and set them so their tops sit just below the lawn surface, allowing the mower to pass over without a fight. A spacing of around 60cm suits most adults, but test it with your own stride.
Bark chip is the quickest option for a temporary route. It looks soft, suits a wildlife-friendly garden, and can be topped up easily. Use a decent depth—around 5cm—and keep it contained with a discreet timber edge if the lawn is uneven. Gravel is more permanent and handles wet boots well, but it needs a proper base and edging or it will migrate into the grass. Reinforced turf is the neatest answer for a route that must look like lawn. A plastic or mesh grid sits just below the surface, protecting the roots while the grass grows through. It is more expensive, but for a daily commute to the shed it can be worth it.
The Details That Stop Mud Spreading
A path is only as good as its edges. If soil and mulch spill onto the lawn, you have simply moved the mud. Set a clean edge between route and grass, and keep it low enough to mow over where possible. On a sloped garden, add a shallow channel or a line of stones to slow water running down the path. Near the back door, a small strip of gravel or a coir mat will catch the worst of the debris before it reaches the kitchen floor.
Think about lighting too. A route that is easy to follow in daylight becomes a muddy gamble in December. A couple of solar markers or a low-level light near the shed will keep feet on the path without turning the garden into an airport runway.
Protect Now, Repair Later
If the wet months are already here, you can still reduce the damage. Keep off the lawn on the soggiest days where you can, and move bins, logs or watering cans to a hard surface so you are not trekking across soft grass to reach them. A temporary line of scaffold boards or bark chip can get you through to spring without committing to a permanent design.
When the ground warms up and the worst of the wet has passed, repair the worn line. Fork over compacted patches, add a little compost or lawn dressing, and reseed with a mix suited to your light levels and soil. Keep foot traffic off the repaired area until the new grass has knitted in. If the route is still the obvious shortcut, make the path permanent rather than reseeding the same strip every year.
A Route That Belongs in the Garden
The best winter path does not look like a compromise. It follows the way you live, uses materials that suit the house and garden, and quietly keeps the lawn out of the firing line. Watch your feet for a week, choose the lightest intervention that will do the job, and build it before the next cold snap. Your lawn will thank you in spring—and your hallway floor will thank you every day until then.